
You Just Landed a Whole Foods PO. Now What?
Five-step checklist to validate POs, lock inventory, meet routing/label rules, and protect margin on a Whole Foods order.
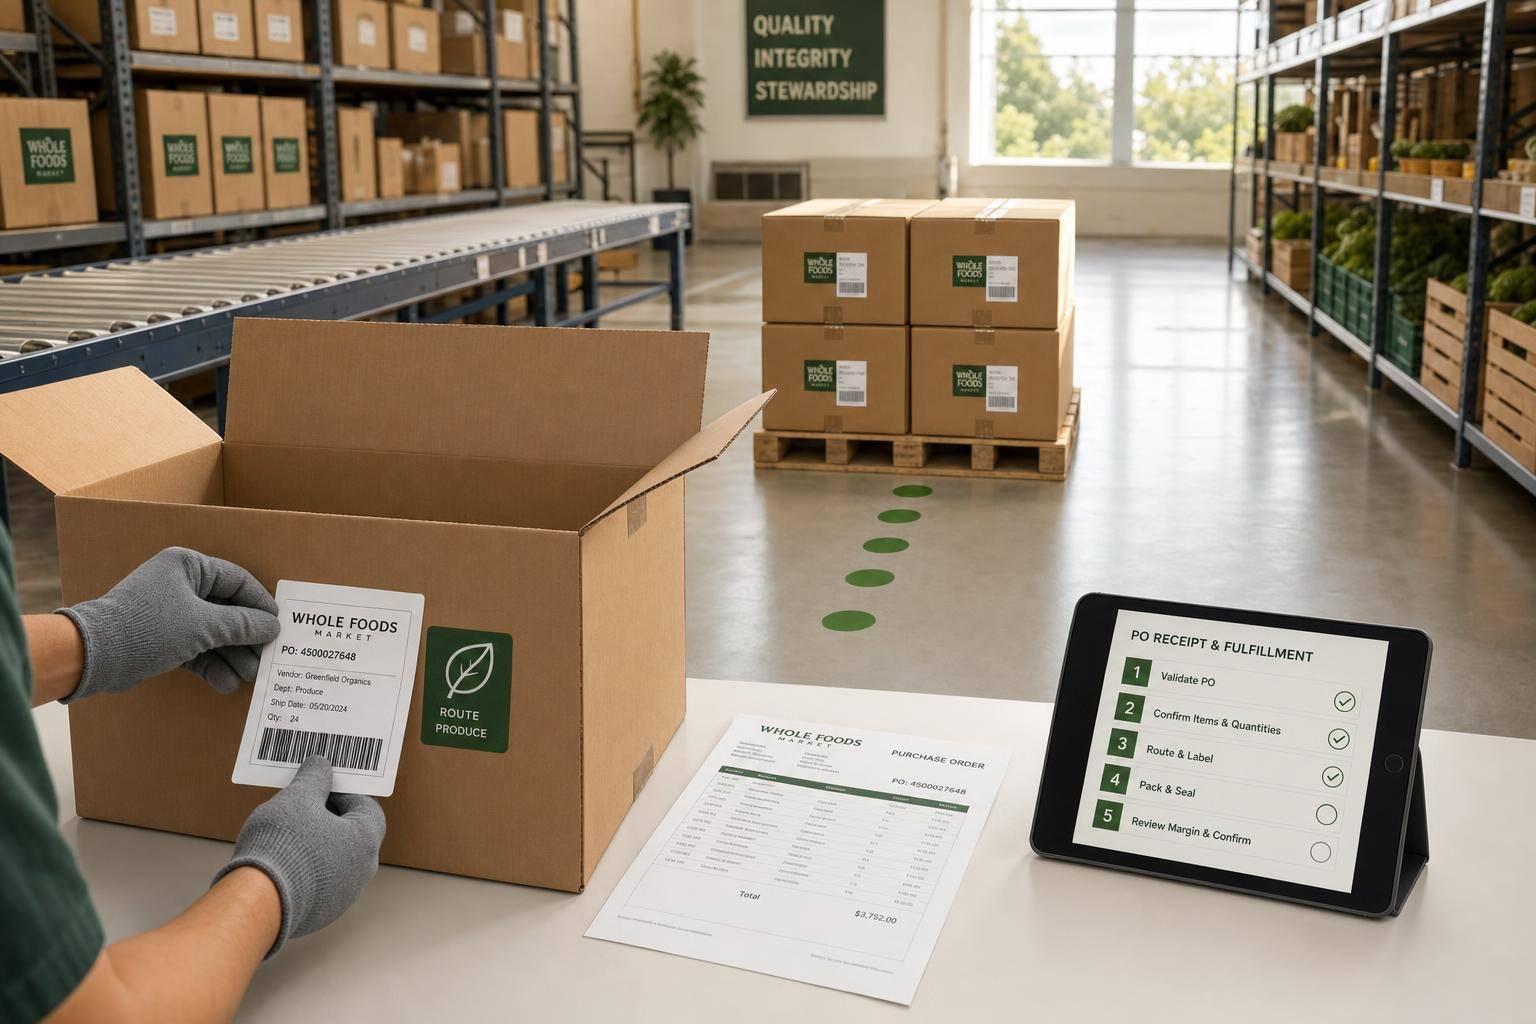
You Just Landed a Whole Foods PO. Now What?
A Whole Foods PO can help sales and hurt margin at the same time. If I get one, my next moves are simple: check the PO, lock inventory, confirm supply, ship by the rules, and track payment until every deduction is cleared.
Here’s the short version:
- Step 1: I verify the PO line by line before I touch stock.
- Step 2: I confirm on-hand units, inbound supply, and production room.
- Step 3: I update my demand plan so one retail order doesn’t drain other channels.
- Step 4: I match routing, labels, paperwork, GTINs, and temperature details to the shipment.
- Step 5: I track receipt, shortages, chargebacks, and remittance through payment.
Why does this matter? Because even a small miss can cost money. A short shipment, wrong label, or late delivery can turn a good PO into a margin problem. And Whole Foods receivers check product against the PO at the dock, so what ships and what gets received must match.
My rule: if the PO, stock, and ship plan do not line up before release, I stop and fix it first.
This article breaks that post-PO work into five clear steps I can use right away.
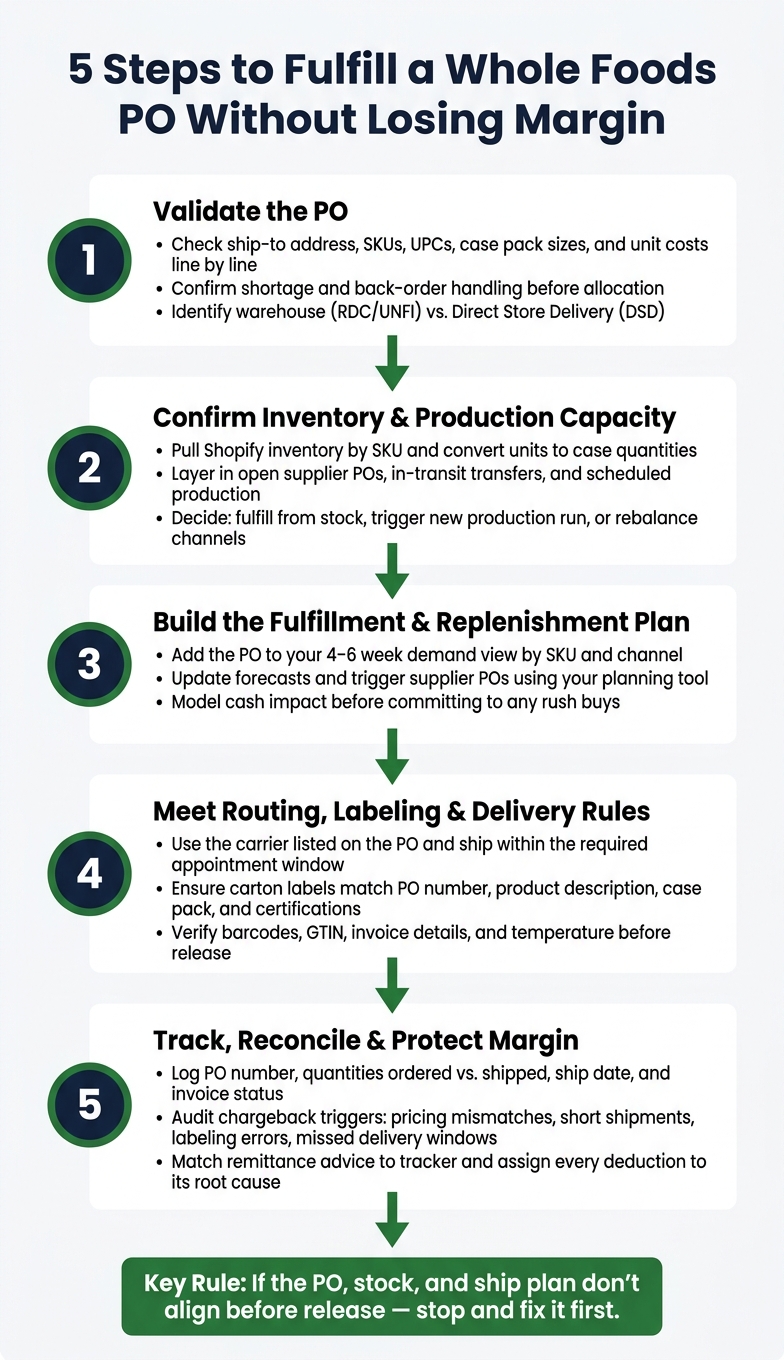
5 Steps to Fulfill a Whole Foods PO Without Losing Margin
Step 1: Validate the PO Before You Allocate Inventory
Read the PO from top to bottom before you allocate inventory.
Check item details, costs, and delivery terms line by line
Match every PO field to your internal record. Check the ship-to location, delivery window, each SKU and UPC, case pack sizes, ordered quantities, unit costs, and freight terms. If anything is off, flag it and stop picking and production until the issue is cleared up.
Use your store contact to fix discrepancies and confirm specs in the Vendor Internet Portal.
Confirm shortage and back-order handling before allocation
If you can't cover the full PO, stop allocation and confirm the shortage or back-order rule before you ship anything. Make that call before any pick, production run, or supplier order.
Identify whether the order is warehouse or direct store delivery
Use the ship-to address to classify the order. That address tells you whether the order is warehouse or DSD. Warehouse orders go to a Regional Distribution Center (RDC) or a third-party distributor like UNFI. Direct Store Delivery (DSD) orders go to a specific store address.
Confirm routing instructions and delivery timing early so the right team handles the handoff. This choice affects where inventory goes next, not just what the address says.
| Field to Check | What to Verify |
|---|---|
| Ship-To Address | RDC/UNFI (warehouse) vs. store address (DSD) |
| Delivery Window | Specific date range and any timing requirements |
| SKU / UPC | Matches your internal product records exactly |
| Case Pack Size | Matches your standard pack configuration |
| Ordered Quantity | Confirms what you can supply now |
| Unit Cost | Matches the agreed cost |
| Freight Terms | Collect or Prepaid |
Once the PO is validated, move to on-hand inventory, inbound supply, and production capacity.
sbb-itb-f0fc809
Step 2: Confirm Inventory, Inbound Supply, and Production Capacity
Start with the decision this step is meant to drive: ship from stock, produce more, or rebalance channels.
The goal is simple. You need to know if you can ship the PO in full and on time without putting pressure on your other sales channels.
Check Shopify inventory by SKU, case pack, and location

Pull your Shopify inventory report and filter it to the exact SKUs listed on the PO. Then check inventory by location and convert unit counts into the same case quantities used in the PO's pack setup. Total units alone don't tell the full story. For example, 500 units might still add up to only 18 complete cases.
Also, split sellable inventory from anything reserved, damaged, or on quality hold. That line matters. Whole Foods' Supplier Agreement requires you to deliver product free from defect and in a safe and timely manner.
Once you have that cleaned-up inventory view, you can make a real fulfillment call instead of guessing.
Layer in open POs, transfers, and physical count checks
Next, look at inbound supply. Review open supplier POs using Shopify purchase order apps, in-transit transfers between warehouse locations, and any production already scheduled. Tie each one back to the ship date so you can see what is actually likely to arrive in time.
If the Shopify numbers seem off, do a quick cycle count on the exact SKUs before you commit. A small gap of just a few missing cases can force a split shipment or an emergency production run, and that can eat into margin fast.
You should also confirm that the co-packer or plant is set up for production and inspection. On paper is one thing. On the floor is another.
Decide whether to pull stock, produce more, or rebalance channels
Now make the call. With on-hand inventory and inbound supply mapped out, choose whether to:
- fulfill from finished goods already in stock
- trigger a new production run
- move inventory from another channel
Before you lock it in, price each path. Overtime labor, expedited freight, and emergency raw material purchases can turn a good PO into a weak one in a hurry.
If you're thinking about shifting stock from another channel, look at the tradeoff closely. You may protect this order but create a stockout somewhere else. In plain terms, don't solve one problem by creating another.
Pick the lowest-cost option that still keeps service levels where they need to be.
Once supply is clear, move to the fulfillment and replenishment plan.
Step 3: Build the Fulfillment and Replenishment Plan
Once you know what you can ship, turn that supply picture into demand, replenishment, and cash decisions. The goal is simple: fill the Whole Foods PO without draining inventory from your other channels.
Add the Whole Foods order to your near-term demand picture
Add the Whole Foods PO to your 4- to 6-week demand view by SKU and channel. If the order is tied to a certain region or store cluster, check shopper data to confirm local demand instead of sending too much stock there. Then layer that order onto your current DTC, wholesale, and marketplace commitments for the same SKUs over the same time frame. Also mark any inventory that's already spoken for in other channels before you confirm the shipment.
This gives you a clear read on whether the order can ship from current stock or whether you need to replenish first.
Use Forstock to update forecasts and trigger supplier POs
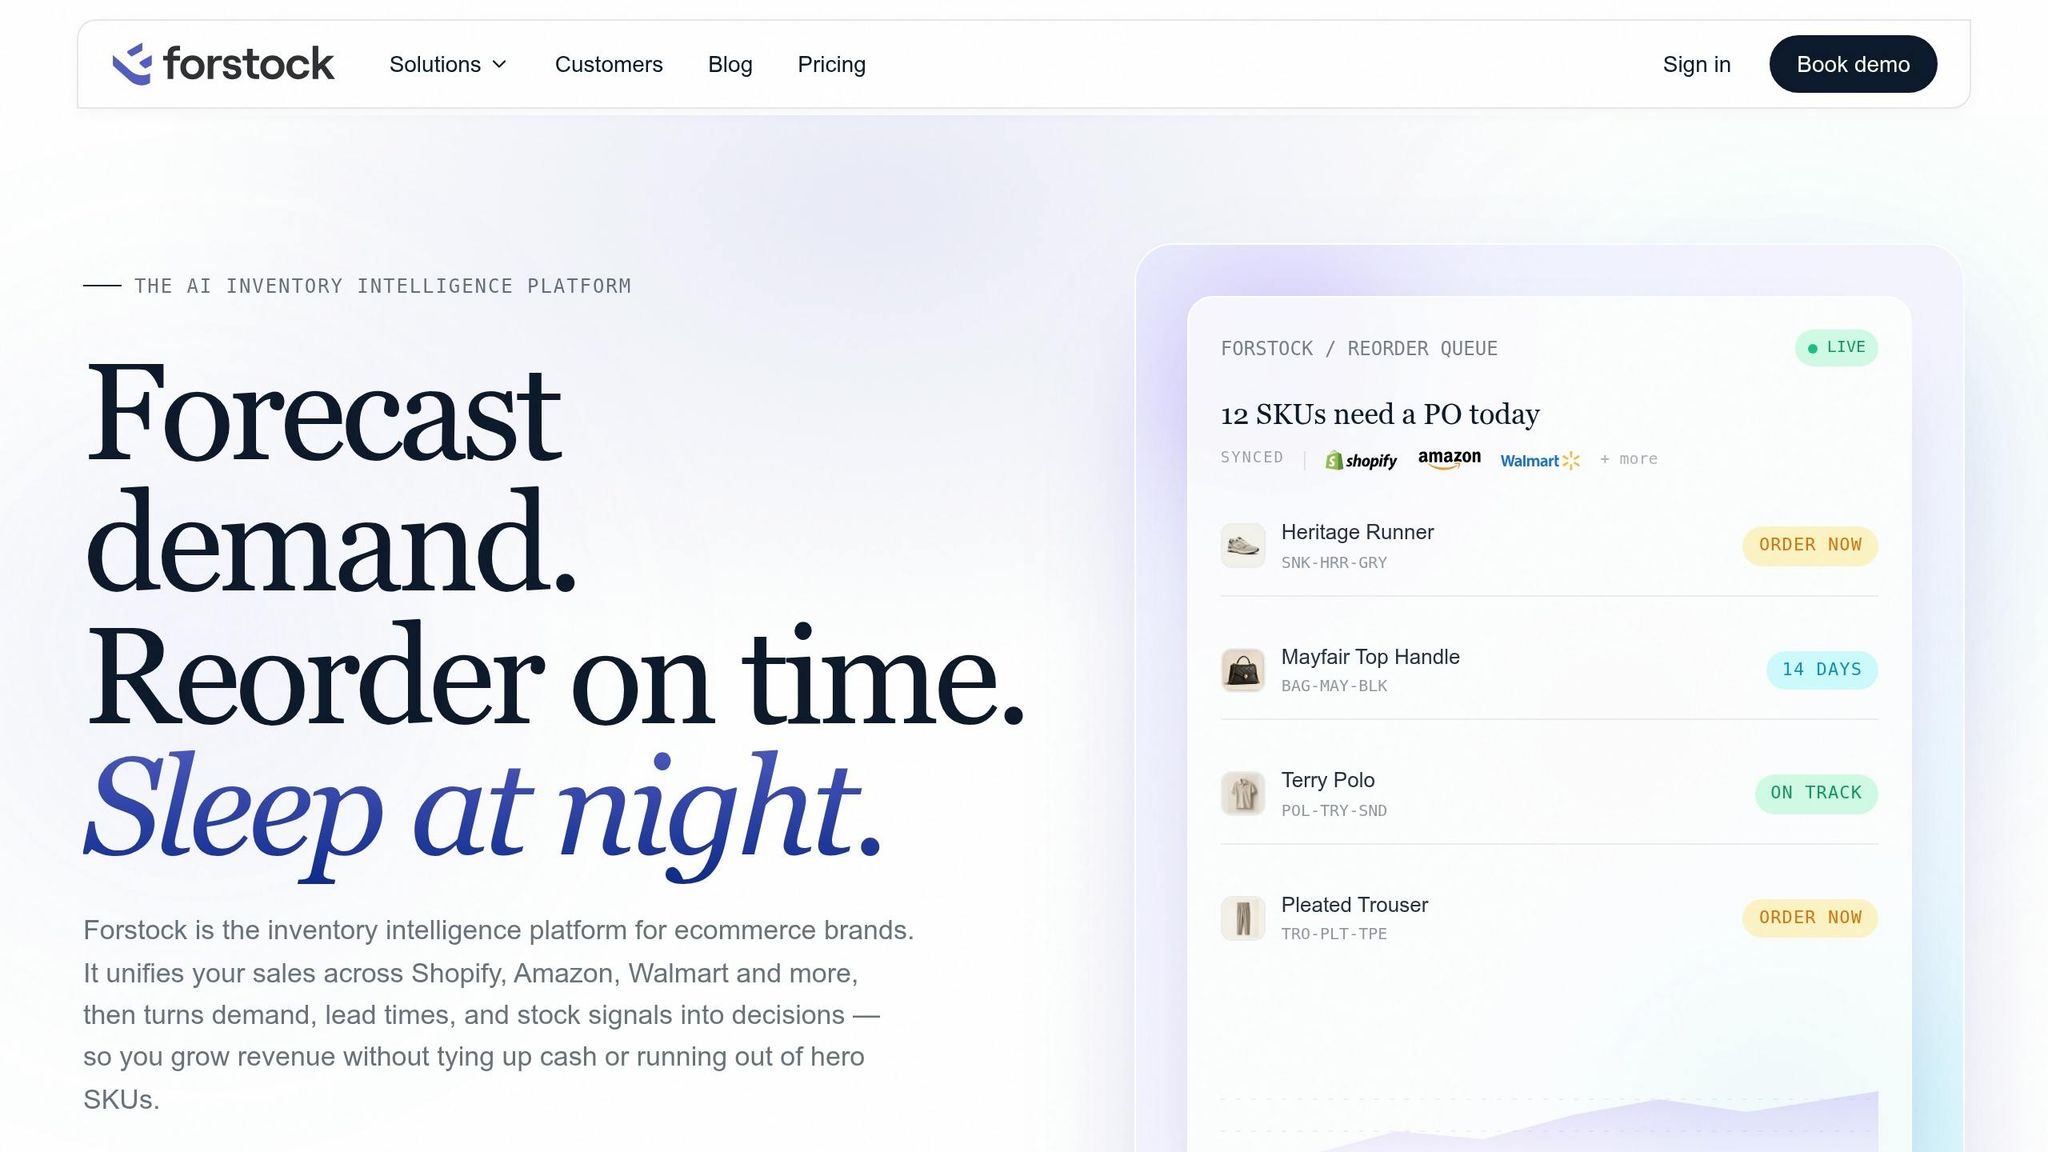
Once your demand view is updated, use Forstock to adjust SKU-level forecasts and your replenishment plan around the new retail volume. Forstock lets you see on-hand stock, inbound supply, and lead times in one place. From there, review stockout risk by SKU and generate supplier POs based on the updated plan.
Model cash impact before committing to rush buys
If the plan calls for new inventory, price out the cash hit before placing the order. Don't greenlight a rush buy until you've pressure-tested both margin and cash. Factor in expedited freight, overtime, and extra raw material costs. Then add compliance costs tied to quality standards and ingredient restrictions. You should also account for rework, reformulation, or rejection risk.
If a buy only works when everything goes exactly right, pass on it.
Step 4: Meet Whole Foods Routing, Labeling, Packaging, and Delivery Rules
Once your fulfillment plan is set, the next step is simple in theory and unforgiving in practice: make sure the shipment gets received without issues. A lot of deductions come from routing, labeling, or paperwork mistakes. At this point, the focus moves from supply planning to shipment compliance.
Follow routing instructions and ship within the required window
Use the carrier listed on the PO, follow the stated routing path, and ship inside the required appointment window. If you send freight through the wrong channel, you can get hit with a routing chargeback even when the load arrives on time.
After routing is confirmed, make sure your labels and paperwork line up with that exact shipment path. Small mismatches here can turn into receiving delays fast.
Prepare carton and product labels that match the order
Receivers use IRMA to match the shipment to the PO and close the order. That means your carton labels need to match the PO exactly, not “close enough.” Check the PO number, product description, and case pack data before anything leaves the dock.
For cold-chain items, include temperature requirements. And if the product is labeled organic or kosher, send the related certification documentation with the shipment.
| Carton Label Field | Why It Matters |
|---|---|
| PO Number | Must match the PO in IRMA so the receiver can close the order |
| Product Description | Helps verify the correct item and allocation |
| Case Pack / Quantity | Used to reconcile the shipment against the PO |
| Temperature Requirements | Critical for cold-chain items at receiving |
| Certifications (e.g., Organic, Kosher) | Required when the product is labeled that way |
Use those labels as your last paperwork check before release.
Confirm traceability, GTIN, and paperwork before release
Before release, verify barcodes, GTIN, invoice details, EFT data, and product temperature. This is the last pass before the shipment is out of your hands.
Once it ships, track it against the PO and reconcile any receipt issues.
Step 5: Track the Order, Reconcile the Outcome, and Protect Your Margin
After release, the job changes. You're no longer just shipping the order - you’re checking what happened next. Once the shipment leaves your dock, track receipt, deductions, and payment so you don’t lose margin.
Keep a PO tracker from release through payment
Your PO tracker should be the main record for both ops and finance. At a minimum, log the PO number, SKU-level quantities ordered vs. shipped, ship date, expected delivery date, invoice status, invoice amount, and any shortages or deductions that show up after delivery.
Then compare the PO against the ASN, BOL, proof of delivery, and receipt data from Whole Foods. If those records don’t match, dig in right away. Small gaps can turn into lost dollars fast. Reconcile shortages promptly so you stay within the dispute window.
Once that’s in place, review the error points that most often eat into payment.
Review the error points most likely to cause chargebacks
Audit the chargeback triggers that come up most often:
| Error Point | Financial Impact | Preventive Control |
|---|---|---|
| Pricing Mismatch | Margin erosion; delayed payment | Validate PO unit cost against your master price list before fulfillment |
| Short Shipments | Chargebacks and potential out-of-stock penalties | Verify inventory at the SKU level before committing stock |
| Labeling/Packaging Errors | Rejection or expensive relabeling fees | Pre-release audit of carton labels, GTINs, and traceability data |
| Missed Delivery Windows | Late fees or canceled appointments | Track carrier progress against the Must Arrive By Date (MABD) and follow routing instructions |
If a carrier is running late against the MABD, notify the Whole Foods contact or logistics team immediately. Don’t wait and hope it fixes itself.
Once payment arrives, match the remittance advice to your tracker. Then assign each deduction to the right cause - shortages, damage, or pricing differences. After payment clears, tie every deduction back to the tracker so nothing slips through.
Conclusion: Build a repeatable post-PO checklist
Your first Whole Foods PO shouldn’t turn into a one-off fire drill. It should become a process you can run again and again.
The five steps in this guide - validate the PO, confirm inventory and production reality, build a replenishment plan, meet routing and labeling rules, and reconcile after shipment - give you that base. Use Forstock to keep your demand forecast and supplier POs up to date as retail orders come in, so the next reorder doesn’t catch you short.
FAQs
What should I do first if the PO has errors?
Fix the errors right away before the order is processed or shipped. Start by checking your internal inventory data, because phantom stock, receipt mismatches, or system glitches can lead to bad automated orders.
Next, compare your Shopify records, supplier portals, and purchase order history to pinpoint the problem. If you spot pricing, quantity, or SKU mismatches, fix them within 24 hours by contacting your Whole Foods representative or supplier, and keep a clear audit trail.
How do I avoid chargebacks on a Whole Foods PO?
Prioritize order accuracy and follow Whole Foods routing, packaging, and labeling requirements exactly.
Use three-way matching so purchase orders, goods receipts, and invoices line up. Confirm or reject orders within 24 hours, track inventory in real time, and manage lead times so you ship only available stock and hit delivery windows.
What if I can’t fulfill the full order on time?
If you can’t ship the full order on time, be upfront about it. Record what’s ready to go out and mark the rest as backordered in your system. Then tell the customer exactly what’s happening with the partial shipment. That kind of clear communication can help cut down on chargebacks and service headaches.
After that, reconcile any gaps, track fill rates, and keep an eye on on-time-in-full performance. Safety stock and real-time alerts can also help you avoid the same shortage next time.
Keep reading
Try Forstock free for 14 days.
AI-powered demand forecasting and reorder automation for Shopify brands. No credit card required.